
How to make a contact sheet with readable filenames
Make a contact sheet in Photoshop, calculate space for images and captions, and check that each thumbnail leads back to the correct original.
Sources checked:
Prepared with AI assistance; sources and conclusions are reviewed before publication.
On this page
To make a digital contact sheet, put the images you want to review in one folder, arrange small copies in a grid, and print a filename below each image. In Photoshop, start with File > Automate > Contact Sheet II. Before exporting, check the sheet at its intended viewing size: a grid is useful only if the reviewer can identify a picture and find its original.
This guide covers making a labelled sheet from existing image files. The steps follow Adobe's documentation; the layout below is a constructed example, not a new Photoshop test.
Make the sheet in Photoshop
- Copy the chosen images into a review folder. Keep your originals elsewhere, and give each review copy a short, distinct filename.
- Open File > Automate > Contact Sheet II. Select that folder under Source Images.
- Under Document, set the page dimensions, resolution and color mode for the intended output.
- Under Thumbnails, choose the rows, columns and reading order. Use automatic spacing initially, then adjust if captions or images need more room.
- Turn on Use Filename As Caption and choose a readable font size. Generate the sheet, inspect it, then save or print it.
These controls are described in Adobe's contact-sheet tutorial. If you want to revise individual captions afterward, leave Flatten All Layers off. Adobe's detailed help explains that this keeps images and captions on separate layers. Rotate For Best Fit can change thumbnail orientation; leave it off when orientation is part of the comparison.
Plan space for the captions
Suppose you need to show 12 portrait photographs on one A4 portrait page. This is a layout calculation, not a universal template or a promise that every printer can use these margins.
| Setting | Example choice |
|---|---|
| Page | 210 × 297 mm |
| Margins | 10 mm on each side |
| Title area | 15 mm high inside the margins |
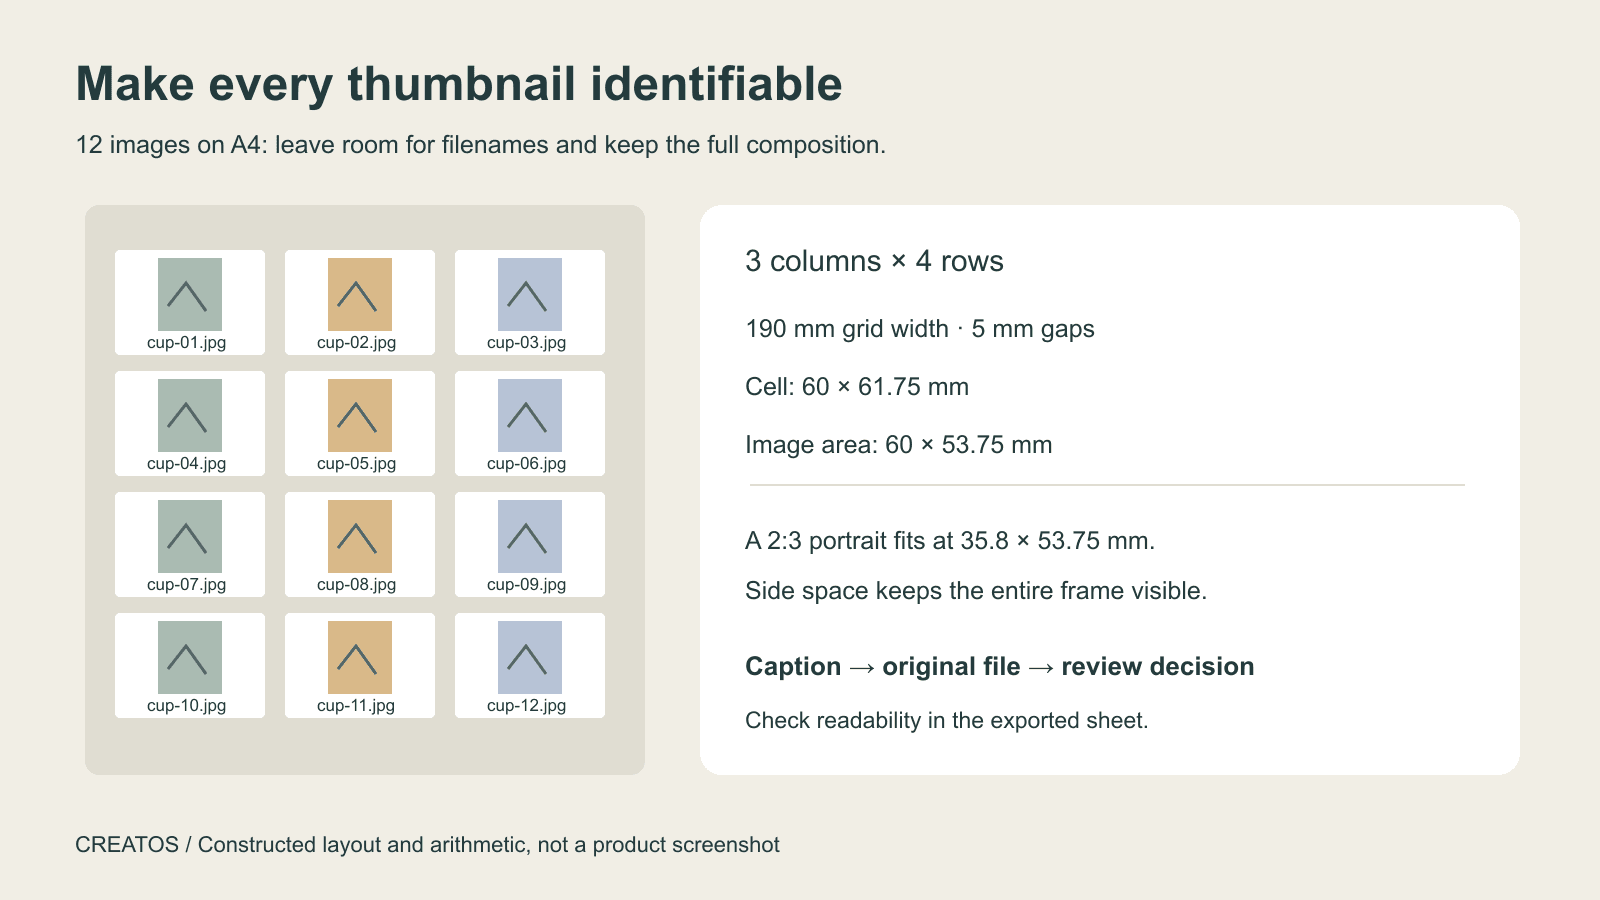
| Grid | 3 columns × 4 rows |
| Gaps | 5 mm between cells |
| Caption allowance | 8 mm within each cell |
The available grid is 190 mm wide and 262 mm high. Each cell is therefore (190 − 2 × 5) ÷ 3 = 60 mm wide and (262 − 3 × 5) ÷ 4 = 61.75 mm high. After allowing for a caption, the image area is 60 × 53.75 mm.
A portrait image with a 2:3 width-to-height ratio fits that area at about 35.8 × 53.75 mm. It will have space on either side. Filling the whole 60 mm width would require a 90 mm image height, so it would no longer fit. Preserve the complete image for selection; a tight crop could hide something the reviewer needs to see.
If the photographs feel too small, split the set across two pages. More pixels in the exported page cannot give each photograph more physical space on a printout.
Keep each thumbnail connected to its source
Use filenames that remain distinct when printed. cup-01.jpg and cup-02.jpg are easier to refer to than several long names that all begin with the same project code.
For a constructed product-shoot selection, a small record might look like this:
| Caption on sheet | Original to retrieve | Decision |
|---|---|---|
| cup-01 | shoot-a/cup-01.tif | Keep for front view |
| cup-02 | shoot-a/cup-02.tif | Check handle edge at full size |
| cup-03 | shoot-b/cup-03.tif | Hold until background is approved |
The caption identifies the image; the record tells you what to do with it. If a revised file arrives, give it a new version name and regenerate the affected sheet. Keeping the same caption for two different pictures makes later feedback ambiguous.
Check the exported file, not just the editing window
Open the saved sheet in the viewer your recipient will use. Check a corner image and one near the middle. Can you read their names? Are all 12 images present? Does a selected caption lead to the intended original? Does portrait orientation remain correct?
For print, use a small proof at the intended page size and check the printer's margins. For screen review, inspect the page at a realistic window size. A filename that works at 200% zoom may be unreadable when the whole page is visible.
A contact sheet supports selection and an overview of composition. Open the original when deciding whether fine lettering, focus or an edge is acceptable. If the next task is asking an AI model to read small text, see our separate guide to contact sheets versus detail images.
Carry a shortlist into a visual review
Once you have a shortlist, place the selected images beside the specific feedback that still needs a decision. For example, keep cup-02 next to its handle detail and the note explaining why it is on hold.
Creatos documents image imports, text nodes and sticky-note grouping in its flow editor guide. Those can support this manual review arrangement. Automatic contact-sheet generation and print-layout controls are not established Creatos features; use the sheet-making steps above for that job.
Sources
Continue reading
Browse all posts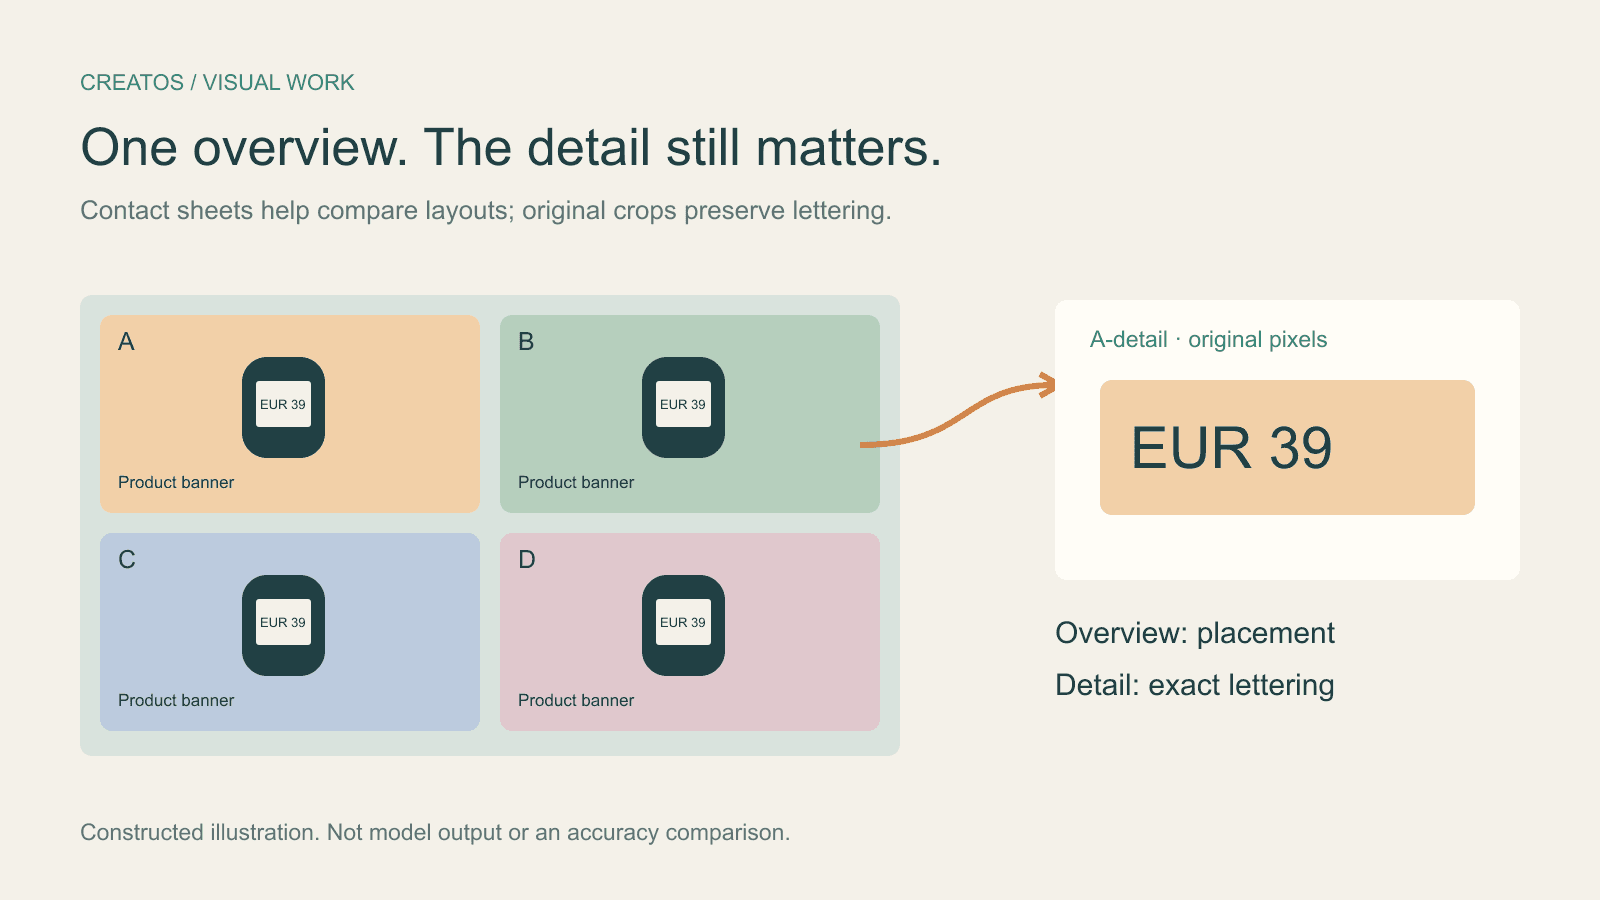
Claude image review: keep small text readable
Compare a contact sheet, separate images and detail crops using Claude image limits, with reproducible pixel and token calculations for four banner variants.

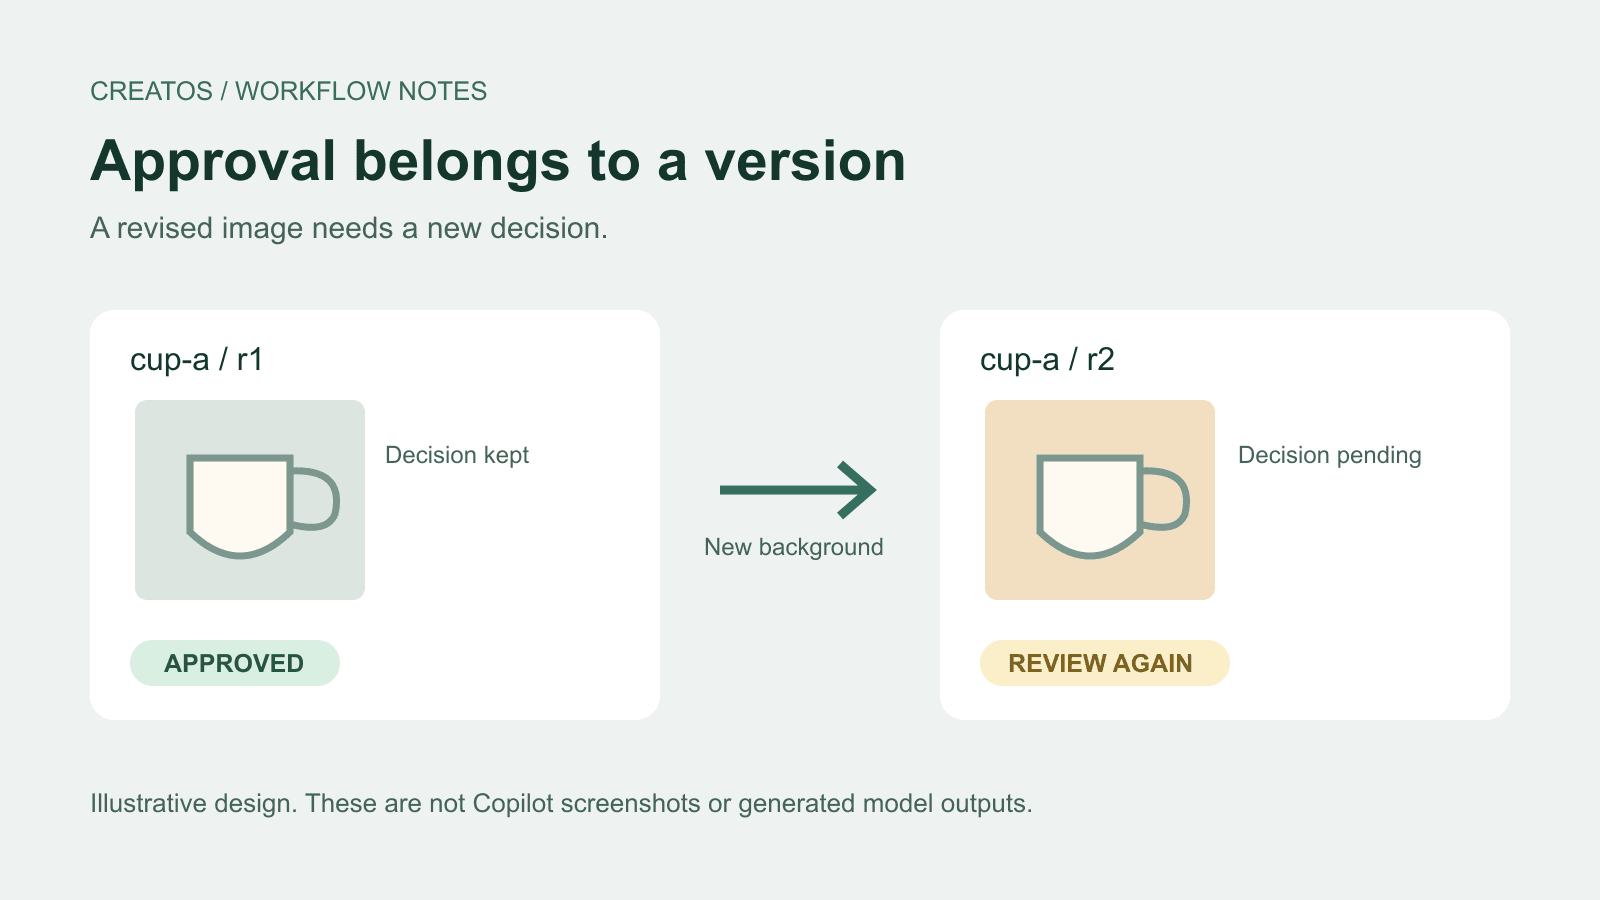
GitHub Copilot canvas: plan an image review board
A proposed Copilot canvas brief for image reviews: bind approval to a file revision, separate recommendations, and check stale previews and saved decisions.
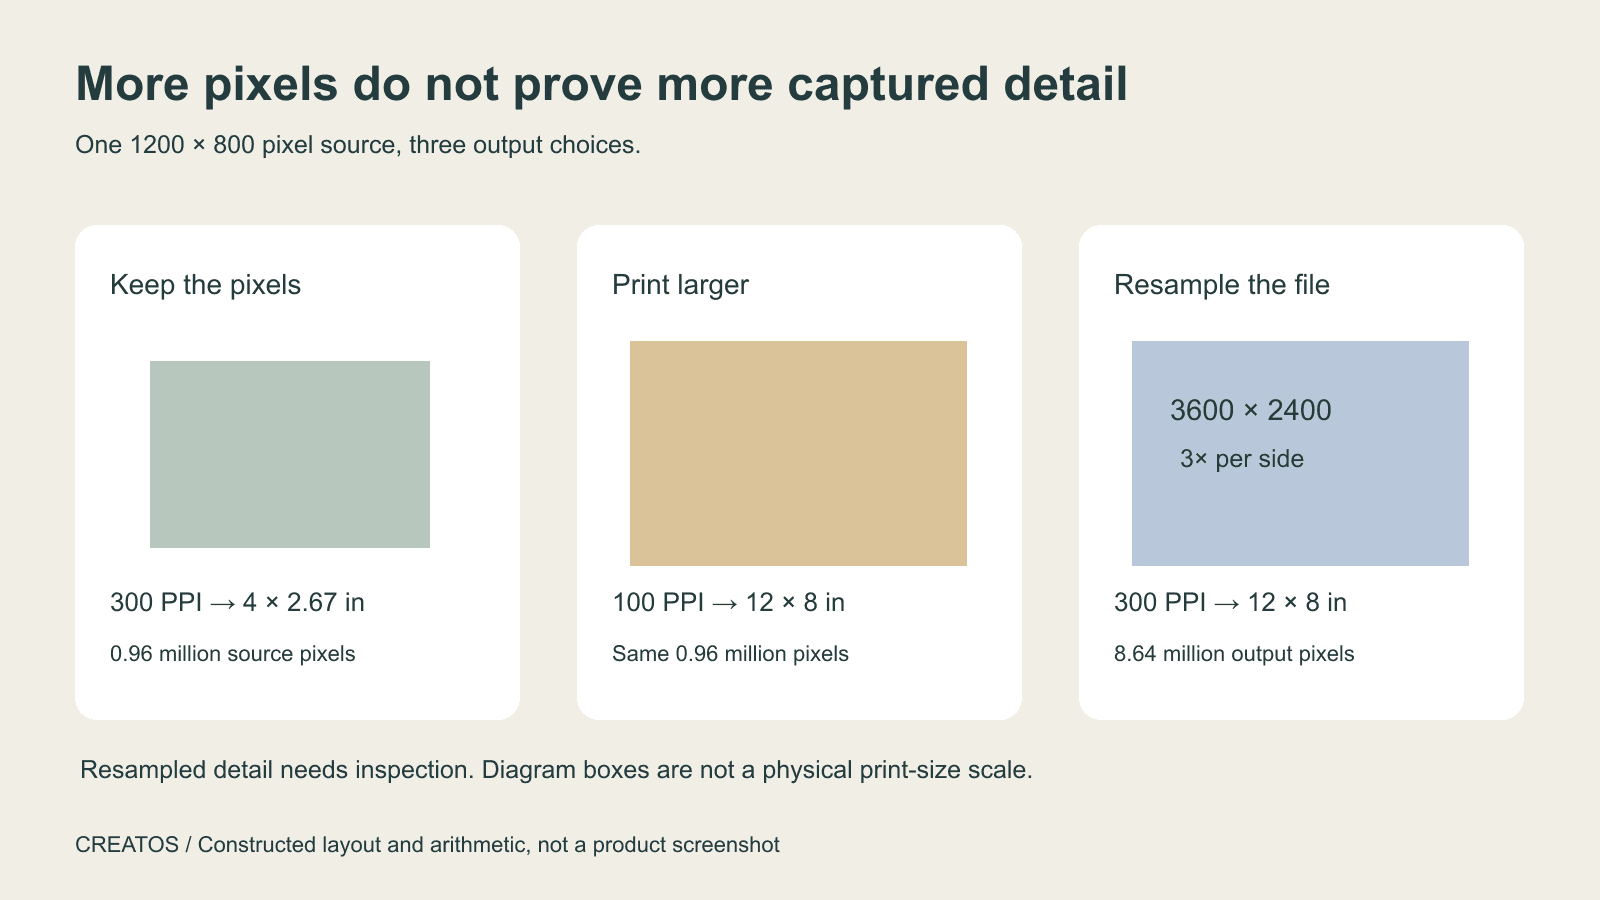
How to increase image resolution: pixels, print size and checks
Increase image resolution with a clear pixel-size target, understand what 300 PPI changes, and check a resized image before using it in print or on screen.