
How to increase image resolution: pixels, print size and checks
Increase image resolution with a clear pixel-size target, understand what 300 PPI changes, and check a resized image before using it in print or on screen.
Sources checked:
Prepared with AI assistance; sources and conclusions are reviewed before publication.
On this page
To increase an image's pixel dimensions, resize it with resampling enabled or use an upscaling tool, then inspect the resulting image. Changing a file from 72 to 300 PPI with resampling disabled preserves its pixels and changes its intended print size. It does not reveal extra detail.
Start with the output you need: a width and height in pixels for a screen, or a physical size and requested PPI for print. The steps below follow Adobe's documentation. The numerical example is constructed; it is not a benchmark of an upscaler.
Work out how many pixels you need
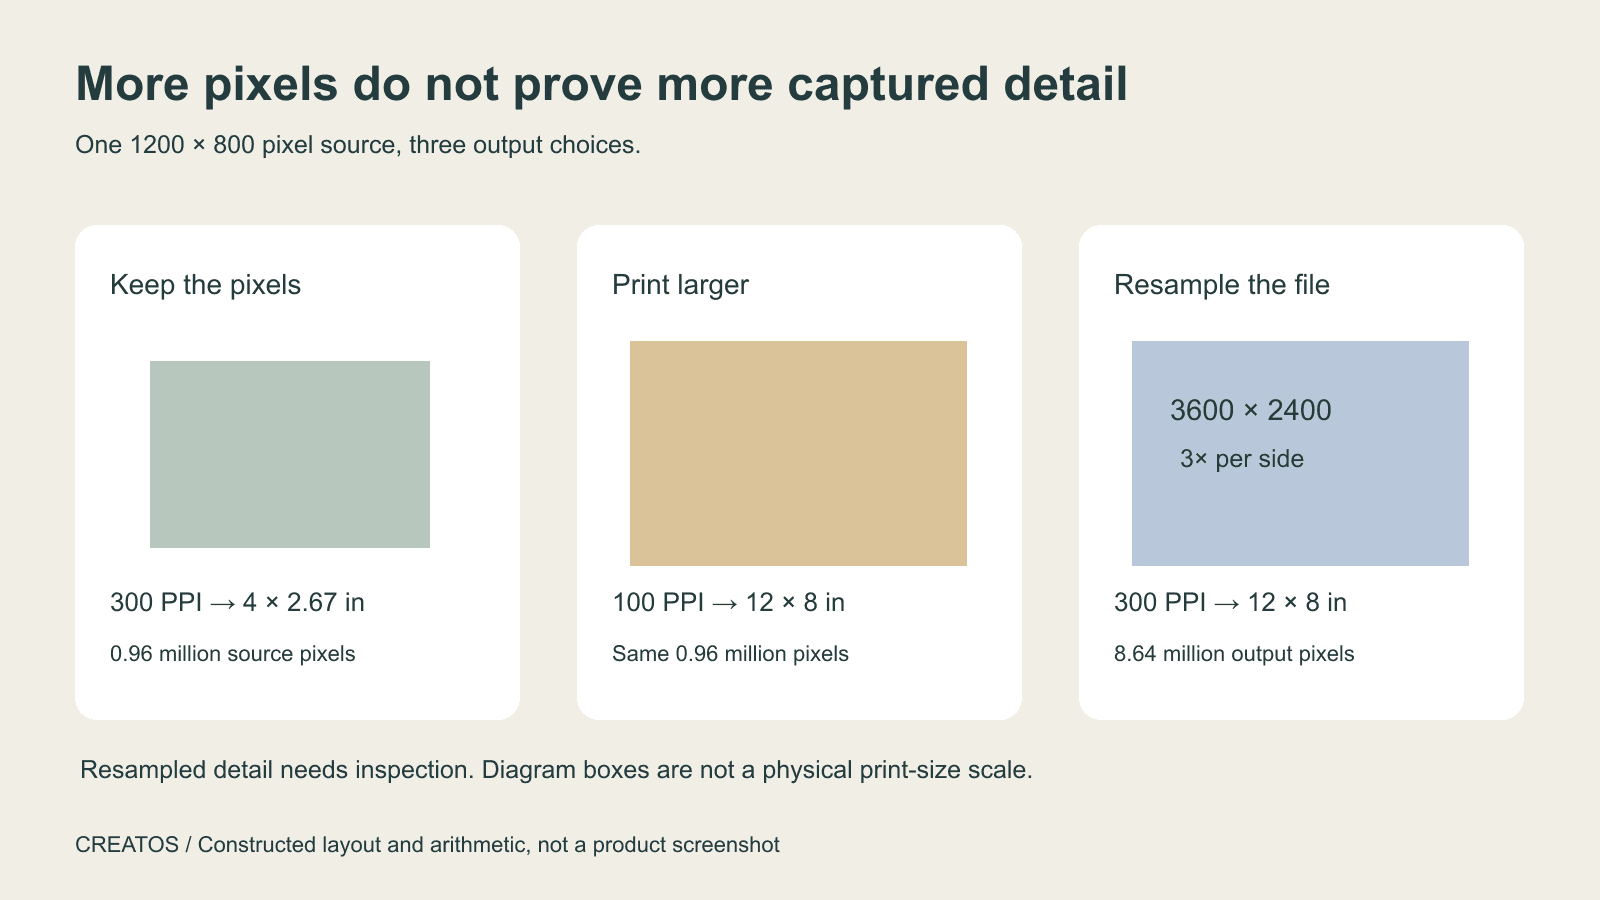
Suppose your source is 1200 × 800 pixels and you want a 12 × 8 inch print at 300 pixels per inch. Multiply each print dimension by the requested PPI:
- Width:
12 × 300 = 3600 pixels. - Height:
8 × 300 = 2400 pixels. - Scale factor:
3600 ÷ 1200 = 3along each side.
The source contains 960,000 pixels. The target contains 8,640,000, or nine times as many. Increasing width and height threefold creates nine times the pixel count, not nine times the captured detail.
| Choice for this source | Result | What to check |
|---|---|---|
| Keep 1200 × 800 pixels; print at 300 PPI | 4 × 2.67 inches | Is the smaller print useful? |
| Keep 1200 × 800 pixels; print at 12 × 8 inches | 100 PPI | Does a physical proof meet the job's needs? |
| Resample to 3600 × 2400; print at 12 × 8 inches | 300 PPI | Are edges, text and texture acceptable after enlargement? |
The requested output determines which choice makes sense. Ask the printer for its specification rather than treating 300 PPI as a universal rule. For an on-screen image, work from the required pixel dimensions. Adobe's explanation of image size distinguishes these pixel dimensions from the resolution metadata used for printing.
Increase pixel dimensions in Photoshop
Use a copy of the best available source. A larger original export may solve the problem before you need to enlarge a small preview.
- Open Image > Image Size.
- Enable Resample so Photoshop can change the pixel count.
- Keep the width and height linked to preserve the image's proportions.
- Set the dimensions in pixels. For the example above, enter a width of 3600 and confirm that the height becomes 2400.
- Review the preview, apply the change and save a separate output file. Compare the saved result with the original before replacing anything.
Adobe's resizing lesson covers the Image Size dialog and the distinction between resizing pixels and changing print resolution. Resampling calculates pixels; it cannot prove what an unresolved detail in the source originally looked like. Treat a sharper-looking result as something to inspect, especially if you use a generative enlargement method.
If the requirement says “300 DPI”
Confirm whether the requester means an image at 300 PPI and what physical dimensions they need. A PPI number without a print size leaves the required pixel count unspecified.
In Photoshop, open Image Size and turn Resample off. Enter 300 in Resolution, with the print dimensions shown in inches. The example's 1200 × 800 pixels then correspond to 4 × 2.67 inches. This is a way to inspect or set the relationship between pixels and print size. It does not produce the 3600 × 2400 pixels needed for a 12 × 8 inch print at 300 PPI.
If you must keep the larger physical size, return to the source-file or resampling decision. Repeatedly changing the PPI field will not supply missing source detail.
Check the shape before changing the size
The 1200 × 800 example has a 3:2 aspect ratio. It fits 12 × 8 inches, but it does not fill a square without a composition decision. Stretching it to a square changes the shape of the subject.
Choose whether to crop, leave space around the image, or request a different composition. Make that choice before the final resize, then calculate the target dimensions again. For a square product listing, check whether the required crop removes the handle, lid or shadow before spending time on enlargement.
Inspect the details that matter to the job
View the exported result at full pixel detail and at its intended display or print size. The first view helps expose artifacts; the second helps decide whether they matter in the actual output.
For a product image, choose a few identifiable regions and record a specific decision:
| Region | Check | Example reason to reject an enlargement |
|---|---|---|
| Printed label | Compare every visible character with the source or a reliable reference | A digit or letter has changed |
| Product outline | Follow curves and narrow gaps | The handle opening closes or an edge develops a halo |
| Material | Compare the kind of texture, not just its apparent sharpness | A smooth surface gains an unsupported pattern |
| Small construction detail | Check against another source view if available | A seam or fastener appears that cannot be verified |
These are proposed acceptance checks, not reported test results. When the source cannot resolve a detail, mark it unresolved. A plausible reconstruction is not evidence of the original.
Keep the source filename, target dimensions, method and rejected regions beside the selected output. If you need to present several candidates for review, Creatos's flow editor documentation describes image imports and text notes that can hold this comparison. Creatos is not presented here as an image upscaler or a pixel-accuracy measurement tool.
Sources
Continue reading
Browse all posts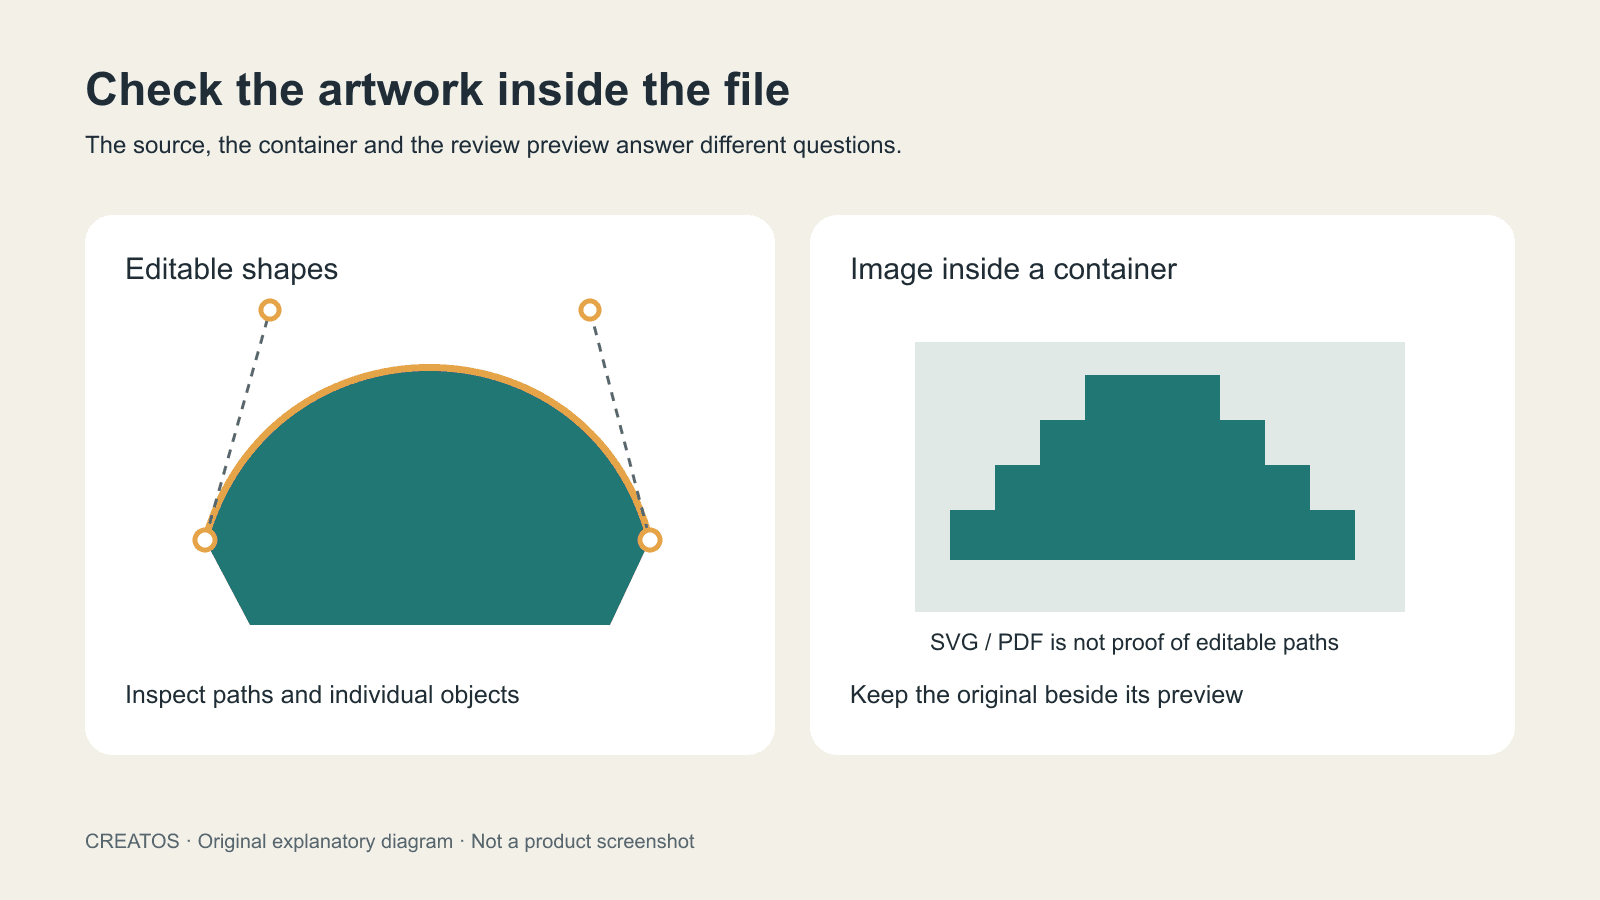
What is a vector image? Check the source before you hand it over
Learn what makes an image vector, inspect SVG and PDF contents, and separate editable artwork from review previews with a practical handoff checklist.

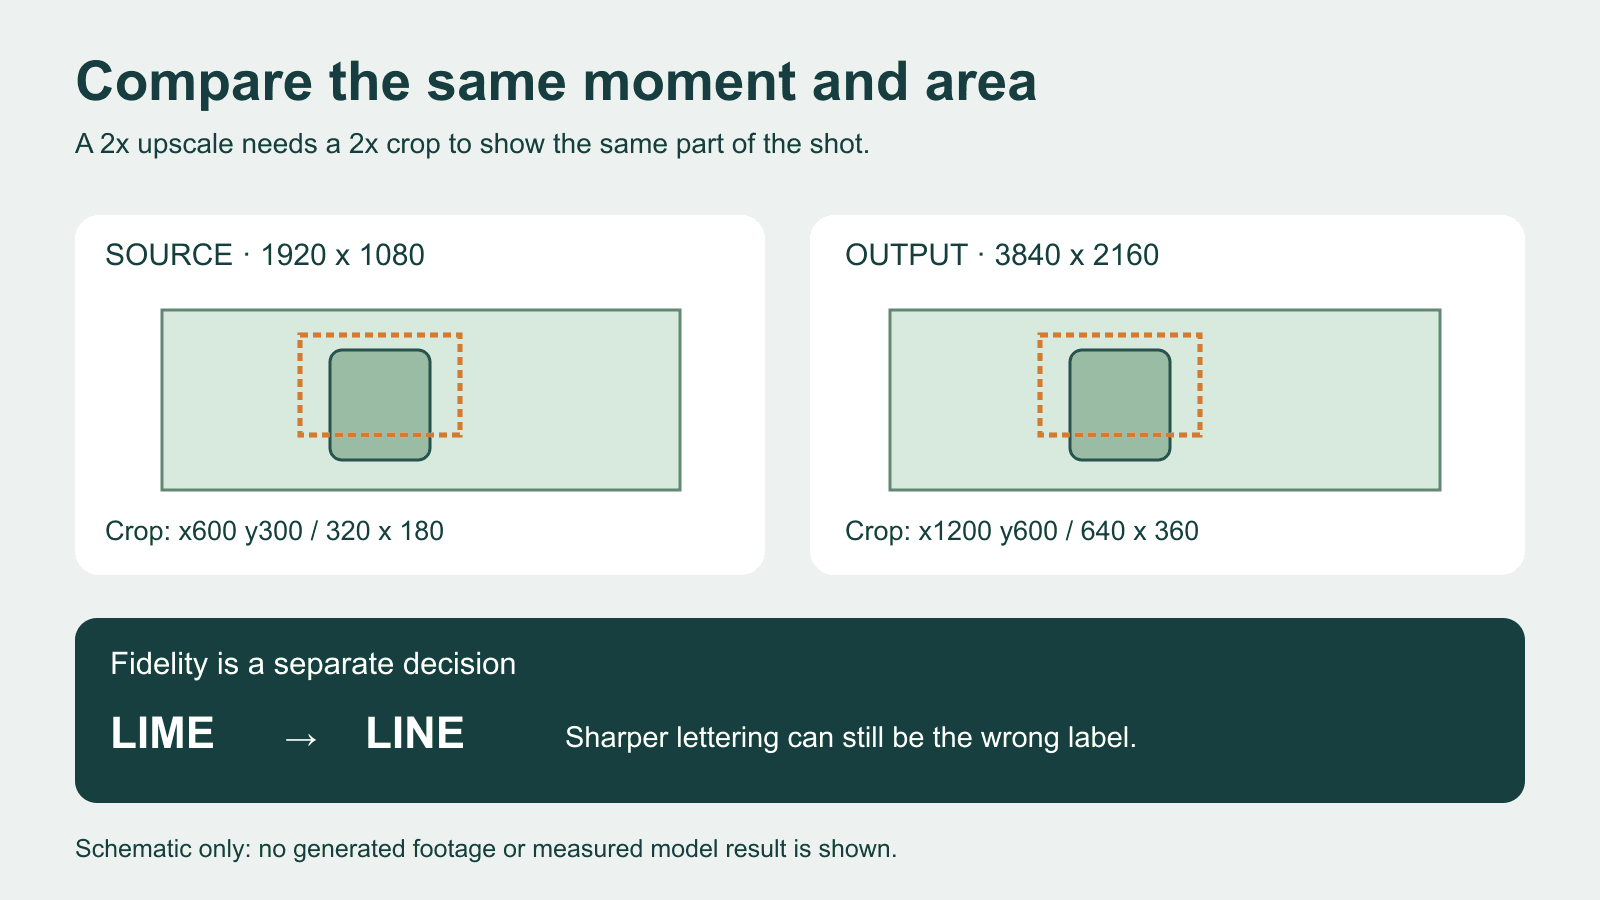
AI video upscaling: compare detail without changing the shot
Compare an AI video upscale with matching timestamps, crop coordinates and display scale. Separate sharper detail from changed lettering and motion.
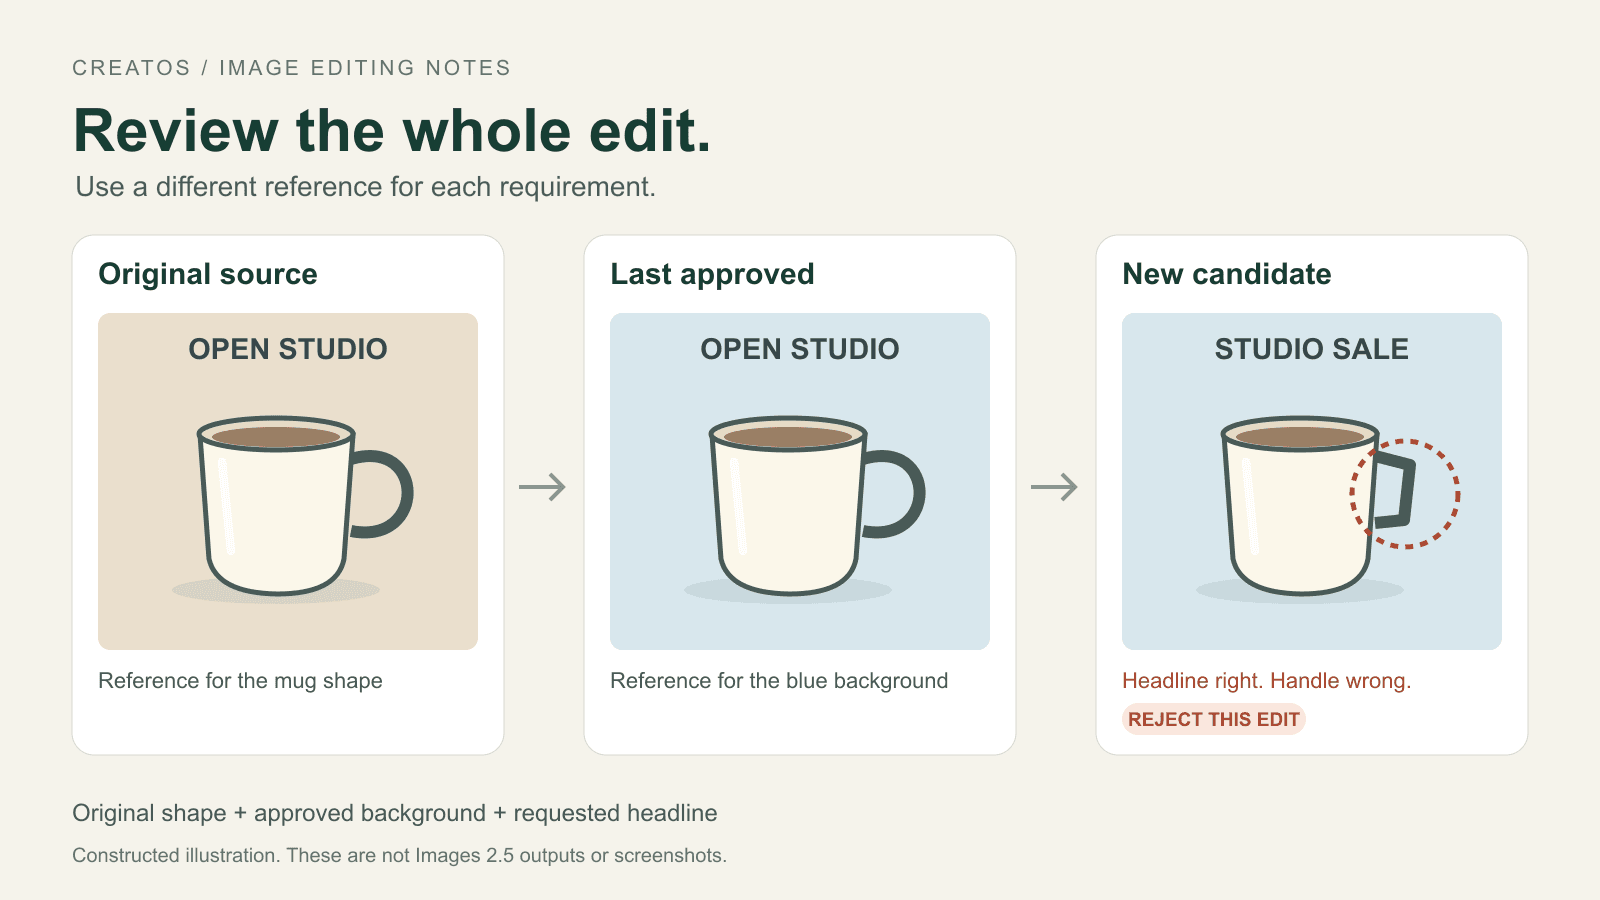
ChatGPT Images 2.5: how to review an image edit
Review ChatGPT Images 2.5 edits against the source and your last approved version, with a concrete poster example and a reusable checklist.