
ChatGPT Images 2.5: how to review an image edit
Review ChatGPT Images 2.5 edits against the source and your last approved version, with a concrete poster example and a reusable checklist.
Prepared with AI assistance; sources and conclusions are reviewed before publication.
On this page
When you review a ChatGPT Images 2.5 edit, compare it with the last version you approved and the original source. Use the approved version to check that earlier decisions survived. Use the original to check details that were never meant to change. Write down which reference governs each detail before accepting the new image.
OpenAI's September 8 announcement describes better preservation of reference subjects, more focused edits and stronger consistency across successive changes. It also introduces comments placed directly on images. The editing help page still warns that edits can extend beyond the selected area. A selection tells the tool where you want a change; checking the result is still part of the job.
This guide turns those two facts into a review method for posters, thumbnails and product concepts. The example and diagram below are constructed to explain the method. We have not tested Images 2.5 or measured whether this method reduces its error rate.
What early feedback actually establishes
In a September 9 X post, -Zho- reported losing the task after ten consecutive generations while praising the model's style transfer and design results. That is the author's experience with a particular sequence, not a ten-edit limit you should apply to every project.
In SandBase's five-edit bottle test, the author reports that requested edits and readable labels survived while surface texture changed. Its article publishes original files and states that the exact API backend was not exposed. We read that report; we did not reproduce its experiment.
Read these as individual case reports. They do not establish a failure rate or a comparison between API models.
Give each reference a specific job
Keep the original source and the last approved version as separate files. They can disagree for good reasons.
- Original source: the reference for fixed identity or structure, such as a mug's handle, a character's markings or a logo's lettering.
- Last approved version: the reference for changes you have already accepted, such as a new background, crop or headline placement.
The new result is a candidate until it passes both checks. Looking only at the previous image can hide a gradual change that began several revisions ago. Comparing everything with the original creates the opposite problem: it can make an intentional change look like a defect.
Decide which details are fixed for this task. In a loose concept sketch, a different reflection may be acceptable. In an asset meant to depict a specific product, a changed handle or invented seam may make the image unusable. Establish that distinction before picking the prettier candidate.
A poster with one more revision
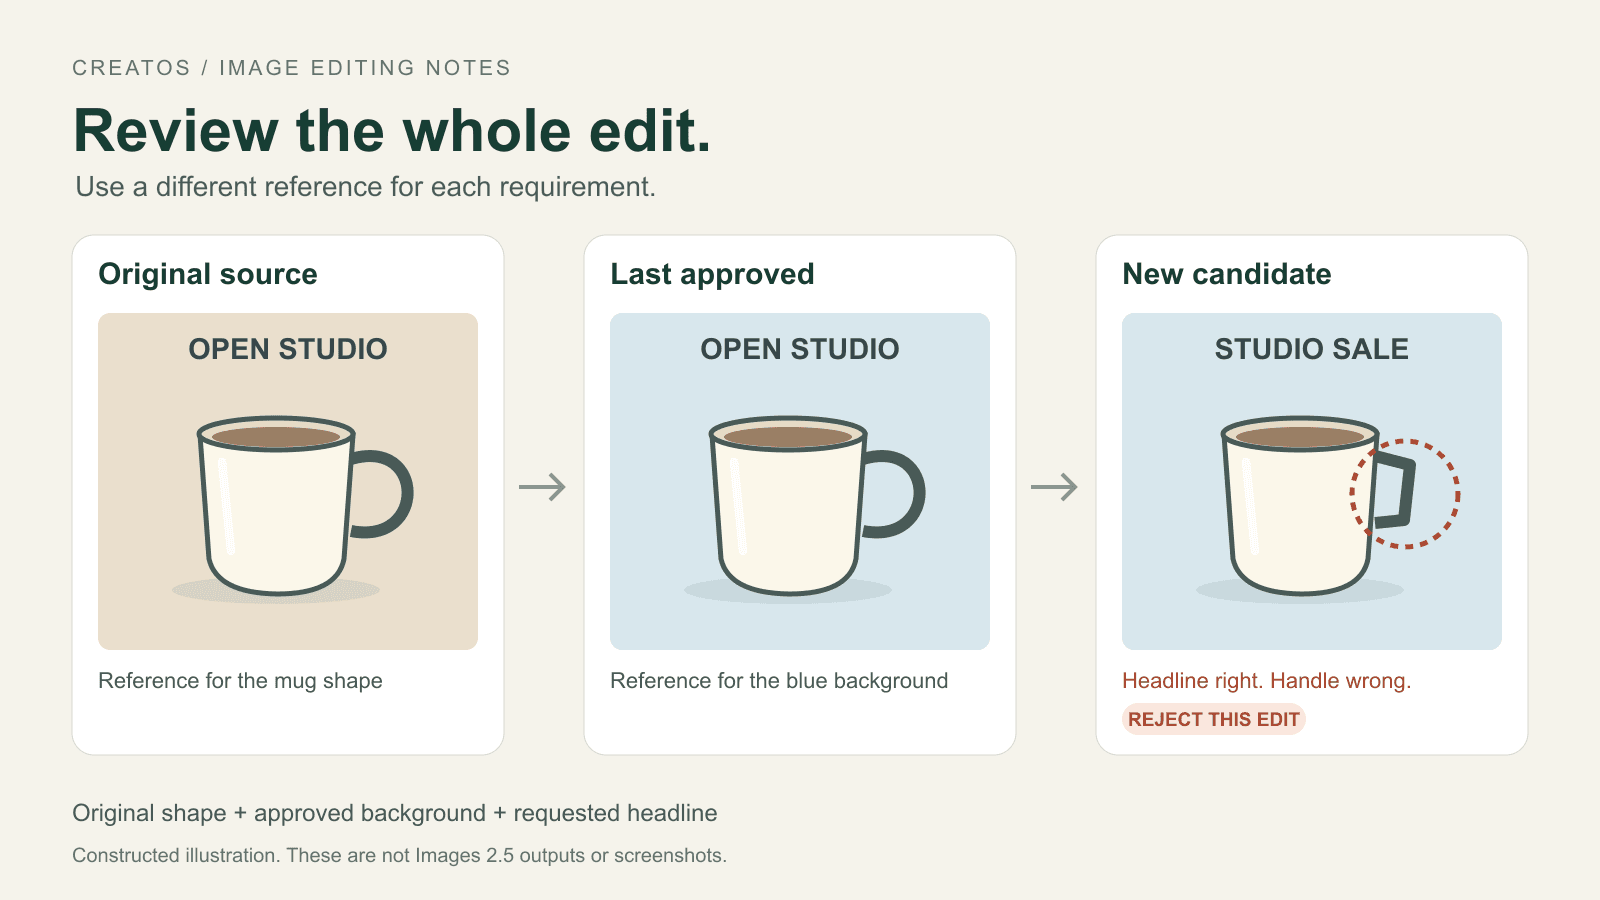
Here is a fictional review example, not a set of generated model outputs. You have a source image of a cream ceramic mug. You approved a version with a pale blue background. Your next request is to change the poster headline from OPEN STUDIO to STUDIO SALE.
| Detail | Required result now | Compare with |
|---|---|---|
| Mug body and handle | Same shape as the source | Original source |
| Background | Keep the approved pale blue | Last approved version |
| Headline | Exactly STUDIO SALE | Current written request |
| Crop and mug position | Keep the approved composition | Last approved version |
Suppose the candidate gets the headline right and keeps the blue background, but narrows the mug handle. Reject that candidate for this brief. Two successful changes do not compensate for an incorrect product shape.
Returning the background to its original color would also fail this brief. It would resemble the source more closely while undoing an approved change.
For your own project, replace these rows with details you can actually inspect. Avoid a requirement such as “keep everything perfect,” which gives the reviewer no concrete decision to make.
Describe the edit, then inspect outside it
OpenAI's help page describes both selecting an area and describing an edit directly in the conversation. It advises naming the area in your prompt when the change should be localized. Choose the control that is available in your interface, then state the change and the details to preserve. OpenAI editing instructions
For the fictional poster, this is an untested instruction you could adapt:
Change the headline from OPEN STUDIO to STUDIO SALE in the same position. Keep the pale blue background, the mug's current size and position, and the original mug body and handle shape. Do not add other text or objects.
Keep the reference files open when reviewing the result. A precise instruction can still produce an unwanted change.
First check the whole image at its intended viewing size. Is the headline readable? Does the composition still work? Then inspect the details named in your table at a useful magnification. Check small lettering, edges and material details in the source and candidate at comparable scales. A chat thumbnail can make small differences difficult to judge.
If dimensions or framing changed, account for that before interpreting a pixel comparison. A shifted object can produce a large difference even when its shape is acceptable. This review is a decision about the brief, not a universal numerical quality score.
Choose what to do with a failed candidate
Use the failure to choose your next step:
| What failed | Next action to consider |
|---|---|
| The intended change is missing, but fixed details still match | Clarify the requested area and change, then inspect the next result again. |
| An identity or structural detail changed | Return to the saved version that still meets the brief; retain the failed candidate and note what went wrong. |
| Only exact wording or placement needs changing on an otherwise approved asset | Consider adding the text in a conventional editor with a separate text layer. |
The sources above do not establish a retry count at which you can stop checking. If you switch tools, inspect the exported result as well.
Keep the decision beside the images
Save the source, the approved version and each candidate under different filenames. For an accepted candidate, record the change, the fixed details checked and the file it replaces. For a rejected one, name the failed requirement. This makes the next review understandable without rereading the entire chat.
A small review note is enough:
Source: mug-source.png
Previously approved: poster-blue-v1.png
Candidate: poster-headline-v2.png
Requested change: OPEN STUDIO -> STUDIO SALE
Fixed details checked: mug shape, handle, blue background, crop
Decision: reject; handle differs from source
Next reference: poster-blue-v1.png
For a visual review board, Creatos's quick start covers importing images and text into Content nodes. You can keep the reference images, candidate and review note together in a flow, then show the detail that explains your decision.
Sources
- Introducing ChatGPT Images 2.5 · OpenAI ·
- Images in ChatGPT · OpenAI
- Images 2.5 editing and style-transfer observation · -Zho- (@ZHO_ZHO_ZHO) ·
- ChatGPT Images 2.5: Five Edits, Product Detail and Color Drift · SandBase Blog ·
- Creatos Quick Start · Creatos
Continue reading
Browse all posts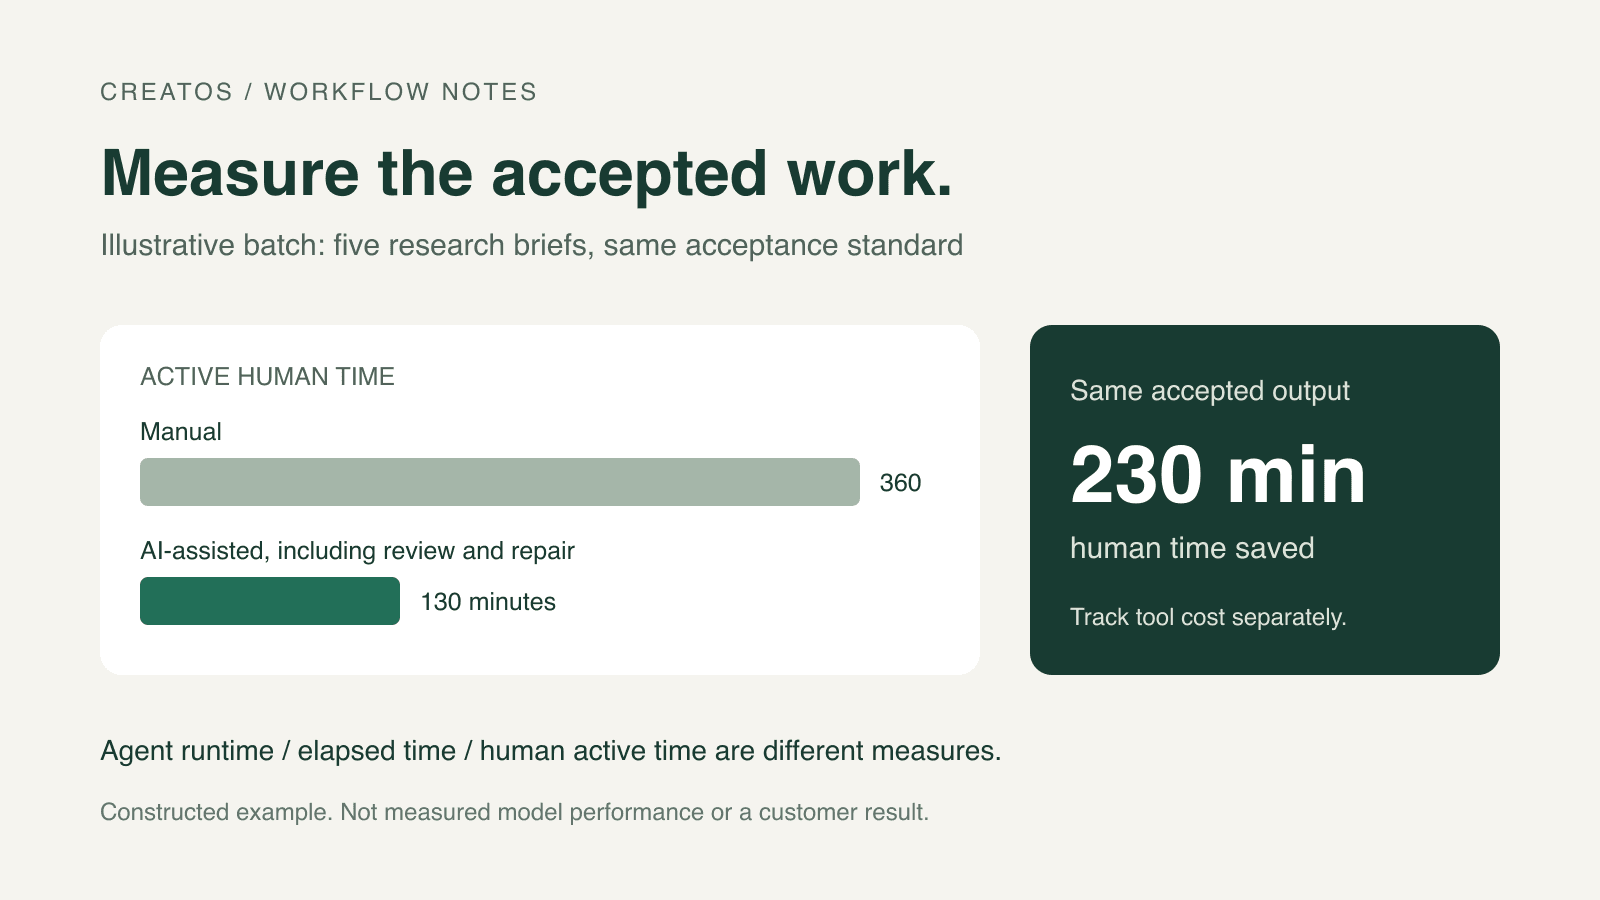
AI agent productivity: what 3.1 workdays actually measures
Understand OpenAI’s 3.1 agent-workdays metric, then measure your own AI workflow with accepted outputs, review time and a worked example.

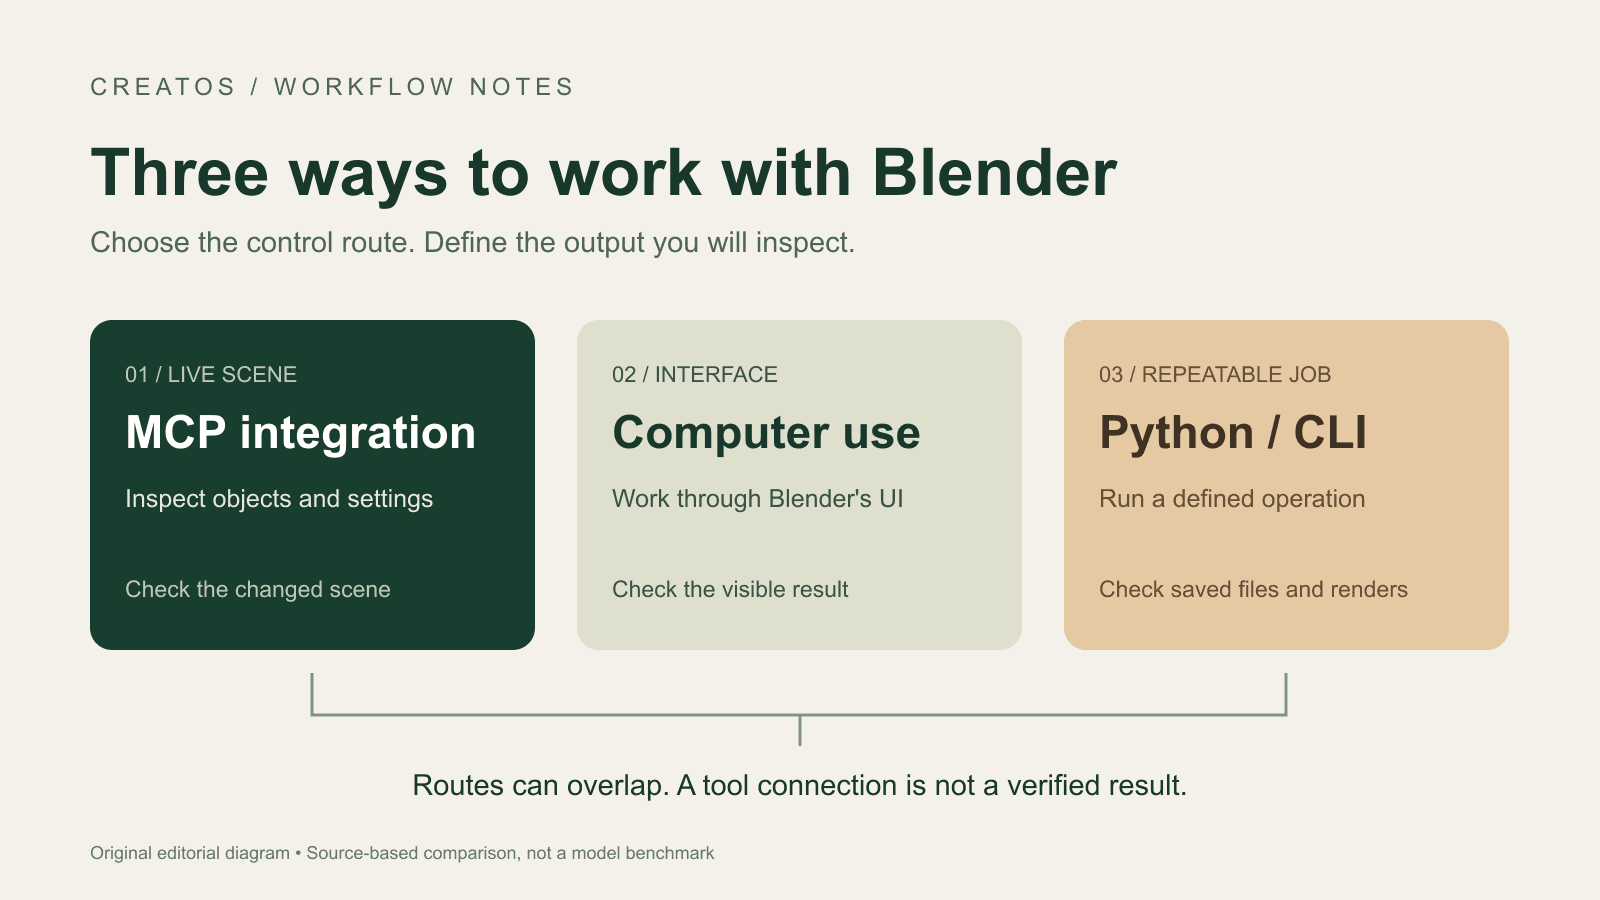
Blender AI workflows: MCP, computer use, or Python?
Choose a Blender AI workflow by the task: scene inspection with MCP, interface work with computer use, or repeatable Python jobs. Includes output and retry checks.
GPT-6 Astra prompting: three task briefs to try
Three GPT-6 Astra prompt examples for model demos, script editing, and website work, with an annotated edit and checks against the source material.