
Ideogram 4.5 masks: black or white depends on the service
fal and Runware document opposite mask colors for Ideogram 4.5. Compare the conventions and check a local edit before submitting a full-size mask.
Sources checked:
Prepared with AI assistance; sources and conclusions are reviewed before publication.
On this page
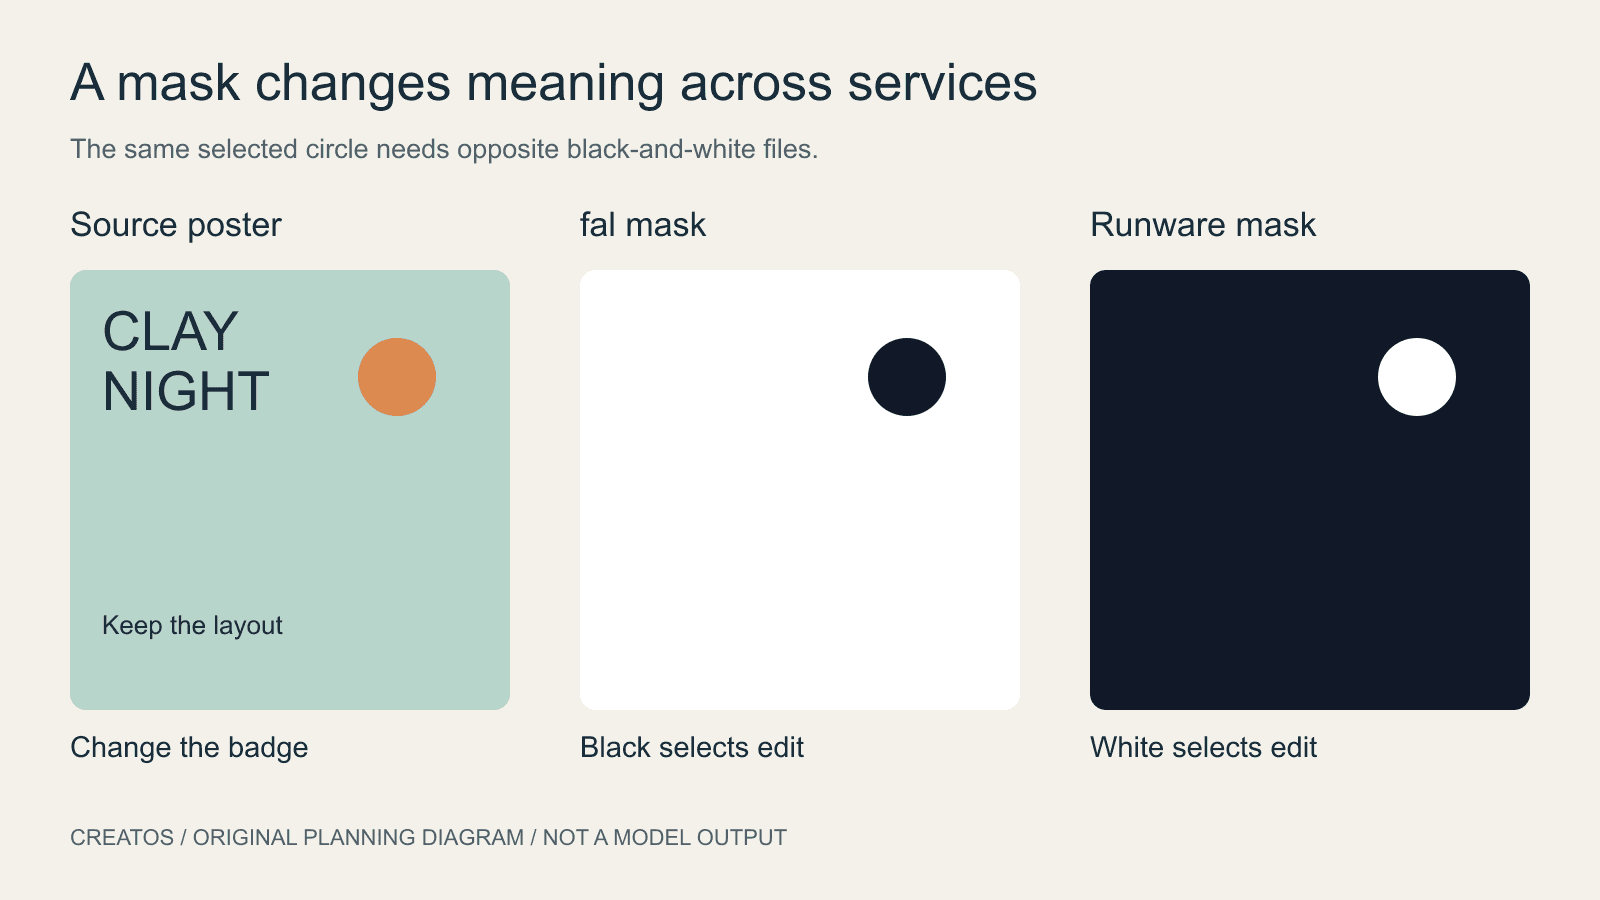
For an Ideogram 4.5 edit, check the service before painting the mask. fal documents black as the region to edit; Runware documents white as the region to edit. Reusing the same mask across those two interfaces can therefore select the opposite part of your picture.
These are the published interface conventions checked on October 1, 2026. We have compared the documentation, not run a paid generation test. If a tool previews the selected area differently, stop and check that tool's current instructions before submitting your image.
The same image needs two different mask files
| Interface checked | Edit this region | Preserve this region | Size requirement |
|---|---|---|---|
fal ideogram/v4.5/edit, mask_url | Black | White | Match the source image's dimensions; include both regions |
Runware Ideogram 4.5 guide, inputs.maskImage | White | Black | Match image 1 exactly; include both regions |
The definitions come from fal's current input schema and Runware's reference-editing guide. They apply to those named interfaces. A mask editor's colored overlay, another model, or a transparent PNG may follow different rules.
This distinction matters now that Ideogram's launch announcement offers editing through several partners. The announcement describes two editing modes with different preservation goals. It does not establish a universal mask format across every partner.
A badge replacement you can check before generating
Suppose a fictional 1024 × 1024 poster has a circular offer badge centered at pixel (760, 250), with a radius of 90 pixels. You want to change the badge background from orange to blue while keeping its position and the rest of the poster.
Make a full-size mask. For fal, the badge circle is black and the rest is white. For the Runware interface above, the badge circle is white and the rest is black. The selected shape has the same position in both files; only the polarity changes.
For this deliberately simple example, the circle fits inside the box from (670, 160) to (850, 340). That gives you four useful checks:
- The mask file is 1024 × 1024, including the surrounding area. A cropped 180 × 180 badge mask loses its position in the original image.
- The center at (760, 250) belongs to the edit region.
- A distant corner, such as (0, 0), belongs to the preserved region.
- The circle is over the badge when viewed against the source, rather than shifted by a crop or resize.
This is a constructed preparation example. A real badge may have a shadow, irregular outline or lettering that needs a more careful selection. Including a letter inside the editable area does not guarantee that the model will preserve it perfectly.
A suitable instruction for the example is:
Change only the circular offer badge's orange background to blue. Keep its existing wording, position and size. Keep the rest of the poster unchanged.
The prompt describes the desired result; the mask supplies the location. Review the returned lettering even though the prompt asks to retain it.
What to check when the wrong area changes
First inspect the exact mask submitted to the service. If nearly everything changed except the badge, reversed polarity is a plausible cause. If the changed area has the right shape but the wrong position, inspect source dimensions and any crop applied during export. Neither symptom proves a model-quality problem by itself.
Then check the editing mode. fal separates edit_precision from quality: its schema says high precision uses Precise Edit, while regular uses Generate. Raising the quality tier alone does not select high precision. Runware also distinguishes its regular editing model from Precise Edit. Check the endpoint you actually used before comparing results.
To explain a revision to someone else, place the source poster, the submitted mask and the result side by side, and label the service and the selected region. Creatos image and text nodes can hold that comparison with your edit instruction. Prepare the mask in your image editor first; this comparison does not require Creatos to create masks or run either provider's endpoint.
For broader checks after the correct region has been edited, use our image-edit review guide.
Sources
Continue reading
Browse all posts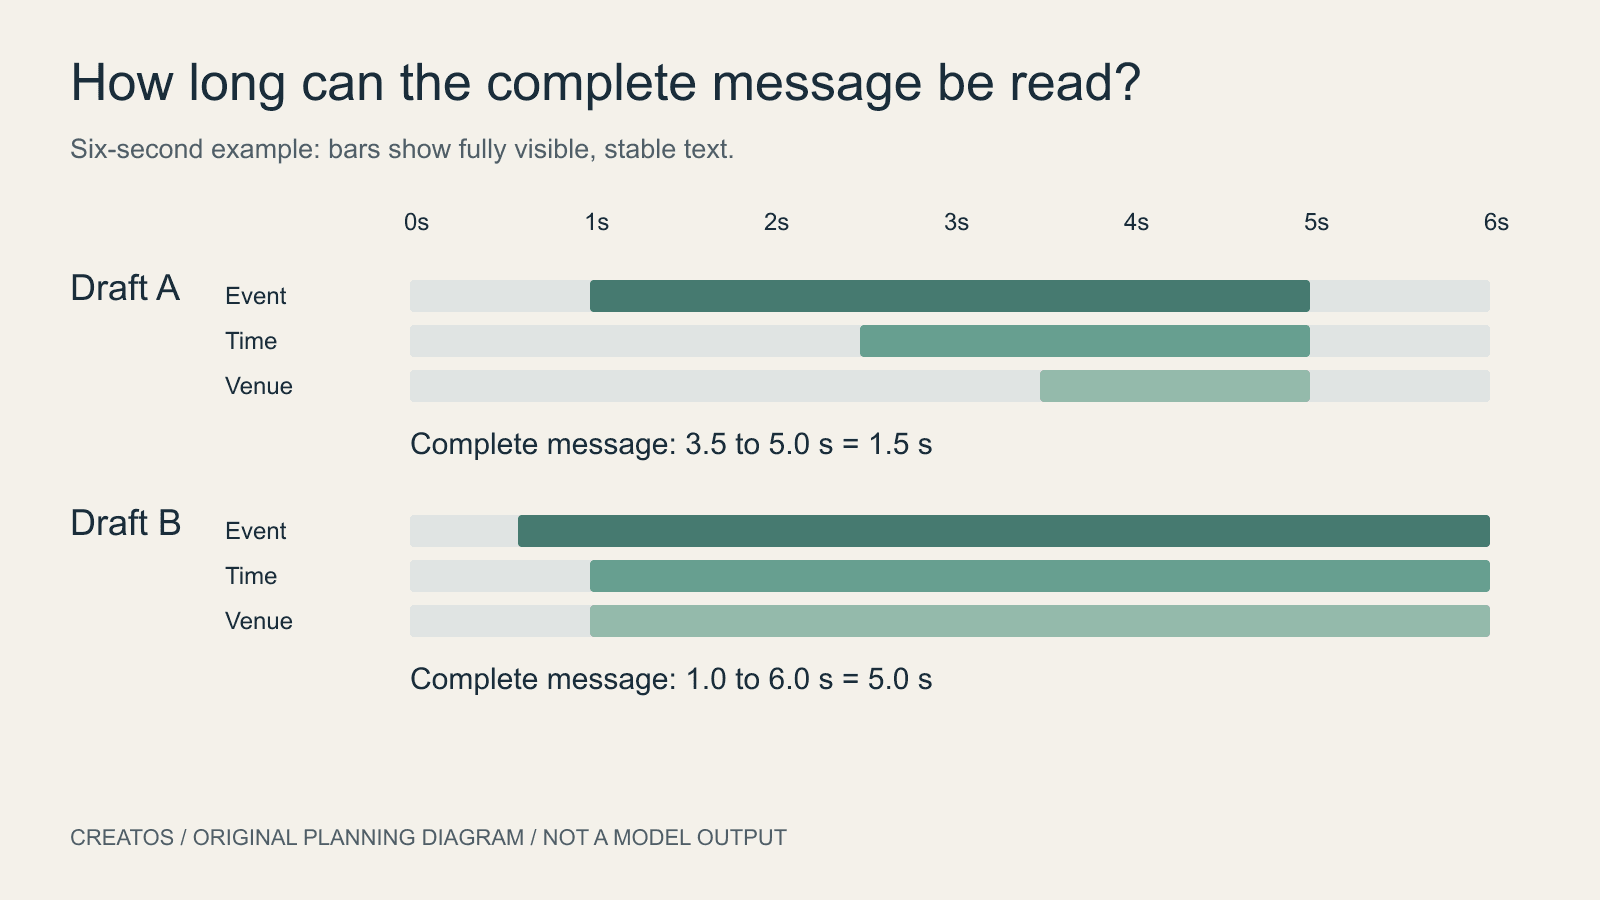
AI motion posters: give the message time to be read
Plan an AI motion poster around readable text. A six-second example compares two schedules and shows how to calculate the shared reading interval.

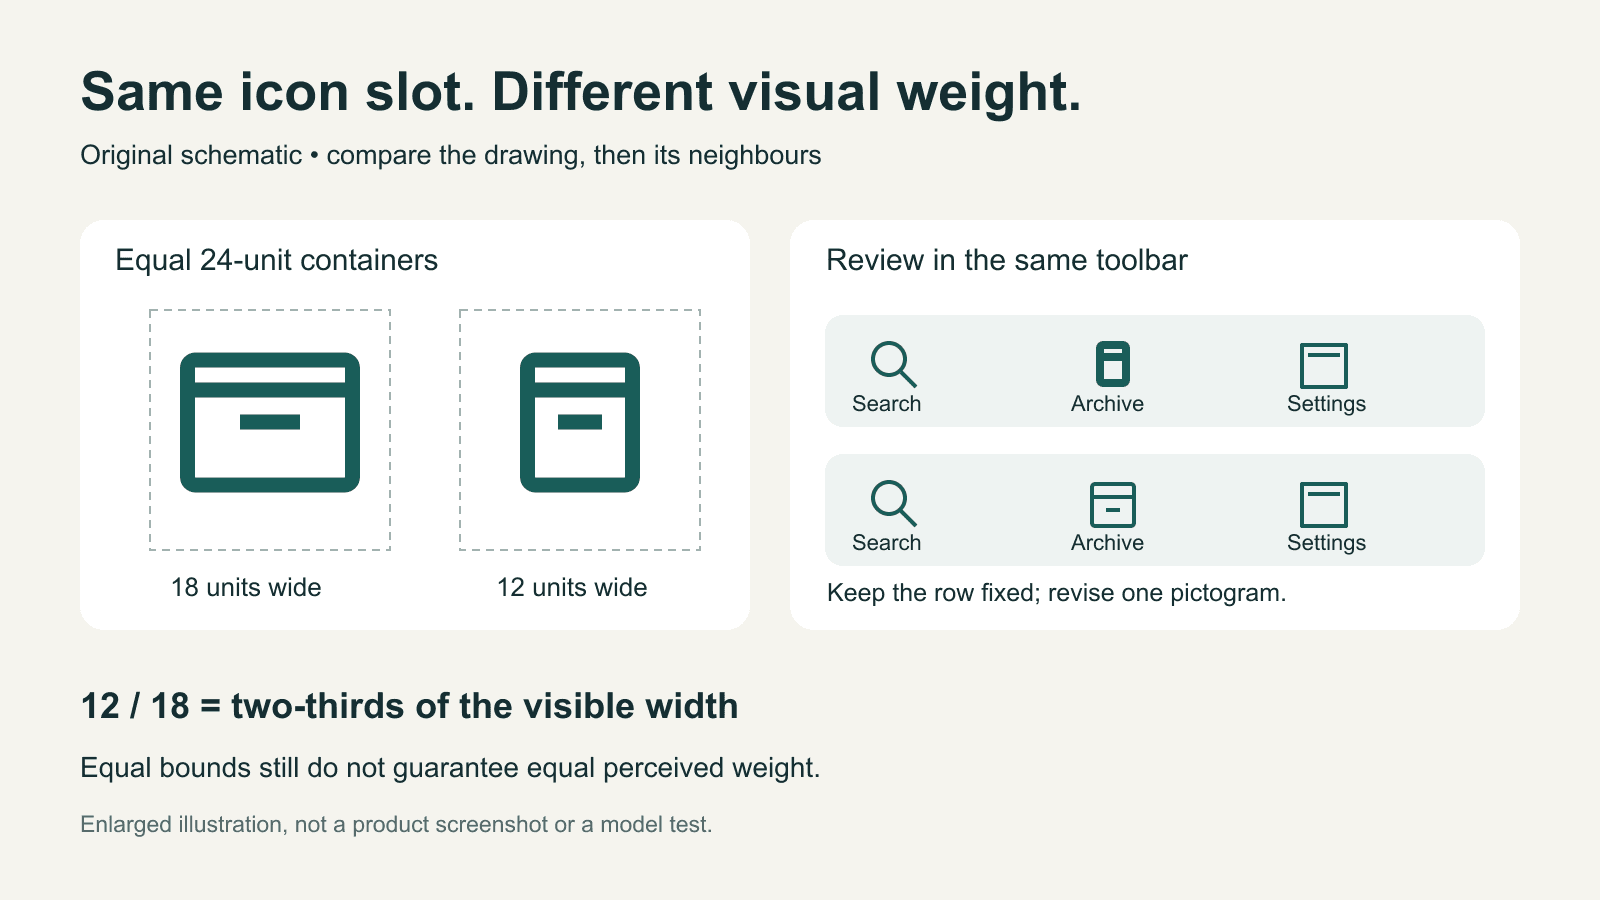
AI-generated icons: match visual weight in a real interface
Compare AI-generated icons at their real display size. Separate visible bounds, stroke weight and alignment, with an original toolbar example and revision brief.
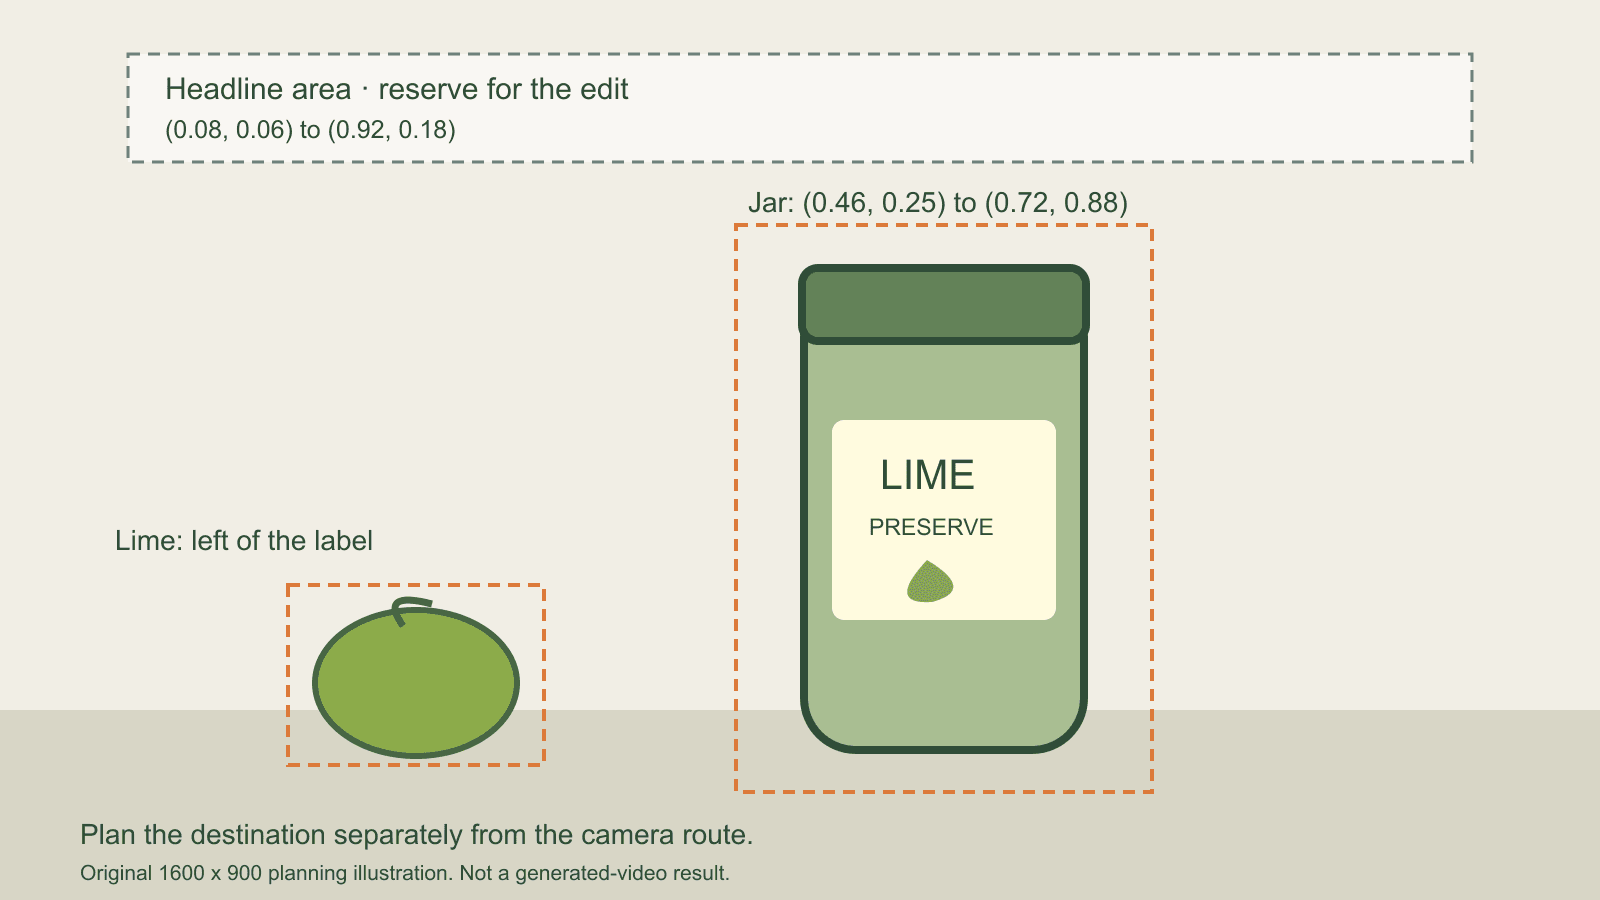
Plan an AI video ending: camera route and final-frame layout
Plan an AI product reveal with separate camera and final-frame requirements. An original layout example makes placement, identity and arrival easier to review.